E mount

Anatomy of a Great Interior Photo

13.jpg

What makes a great interior photo?

Read on to learn what goes into creating a great Interior Photo for Real Estate.

Ever wonder how good your interior photos present your listing? Whether you're looking for a real estate photographer, or are working with one already, these four photography checkpoints will help you better present your clients' homes and they'll love you for it!

1. Dynamic Range

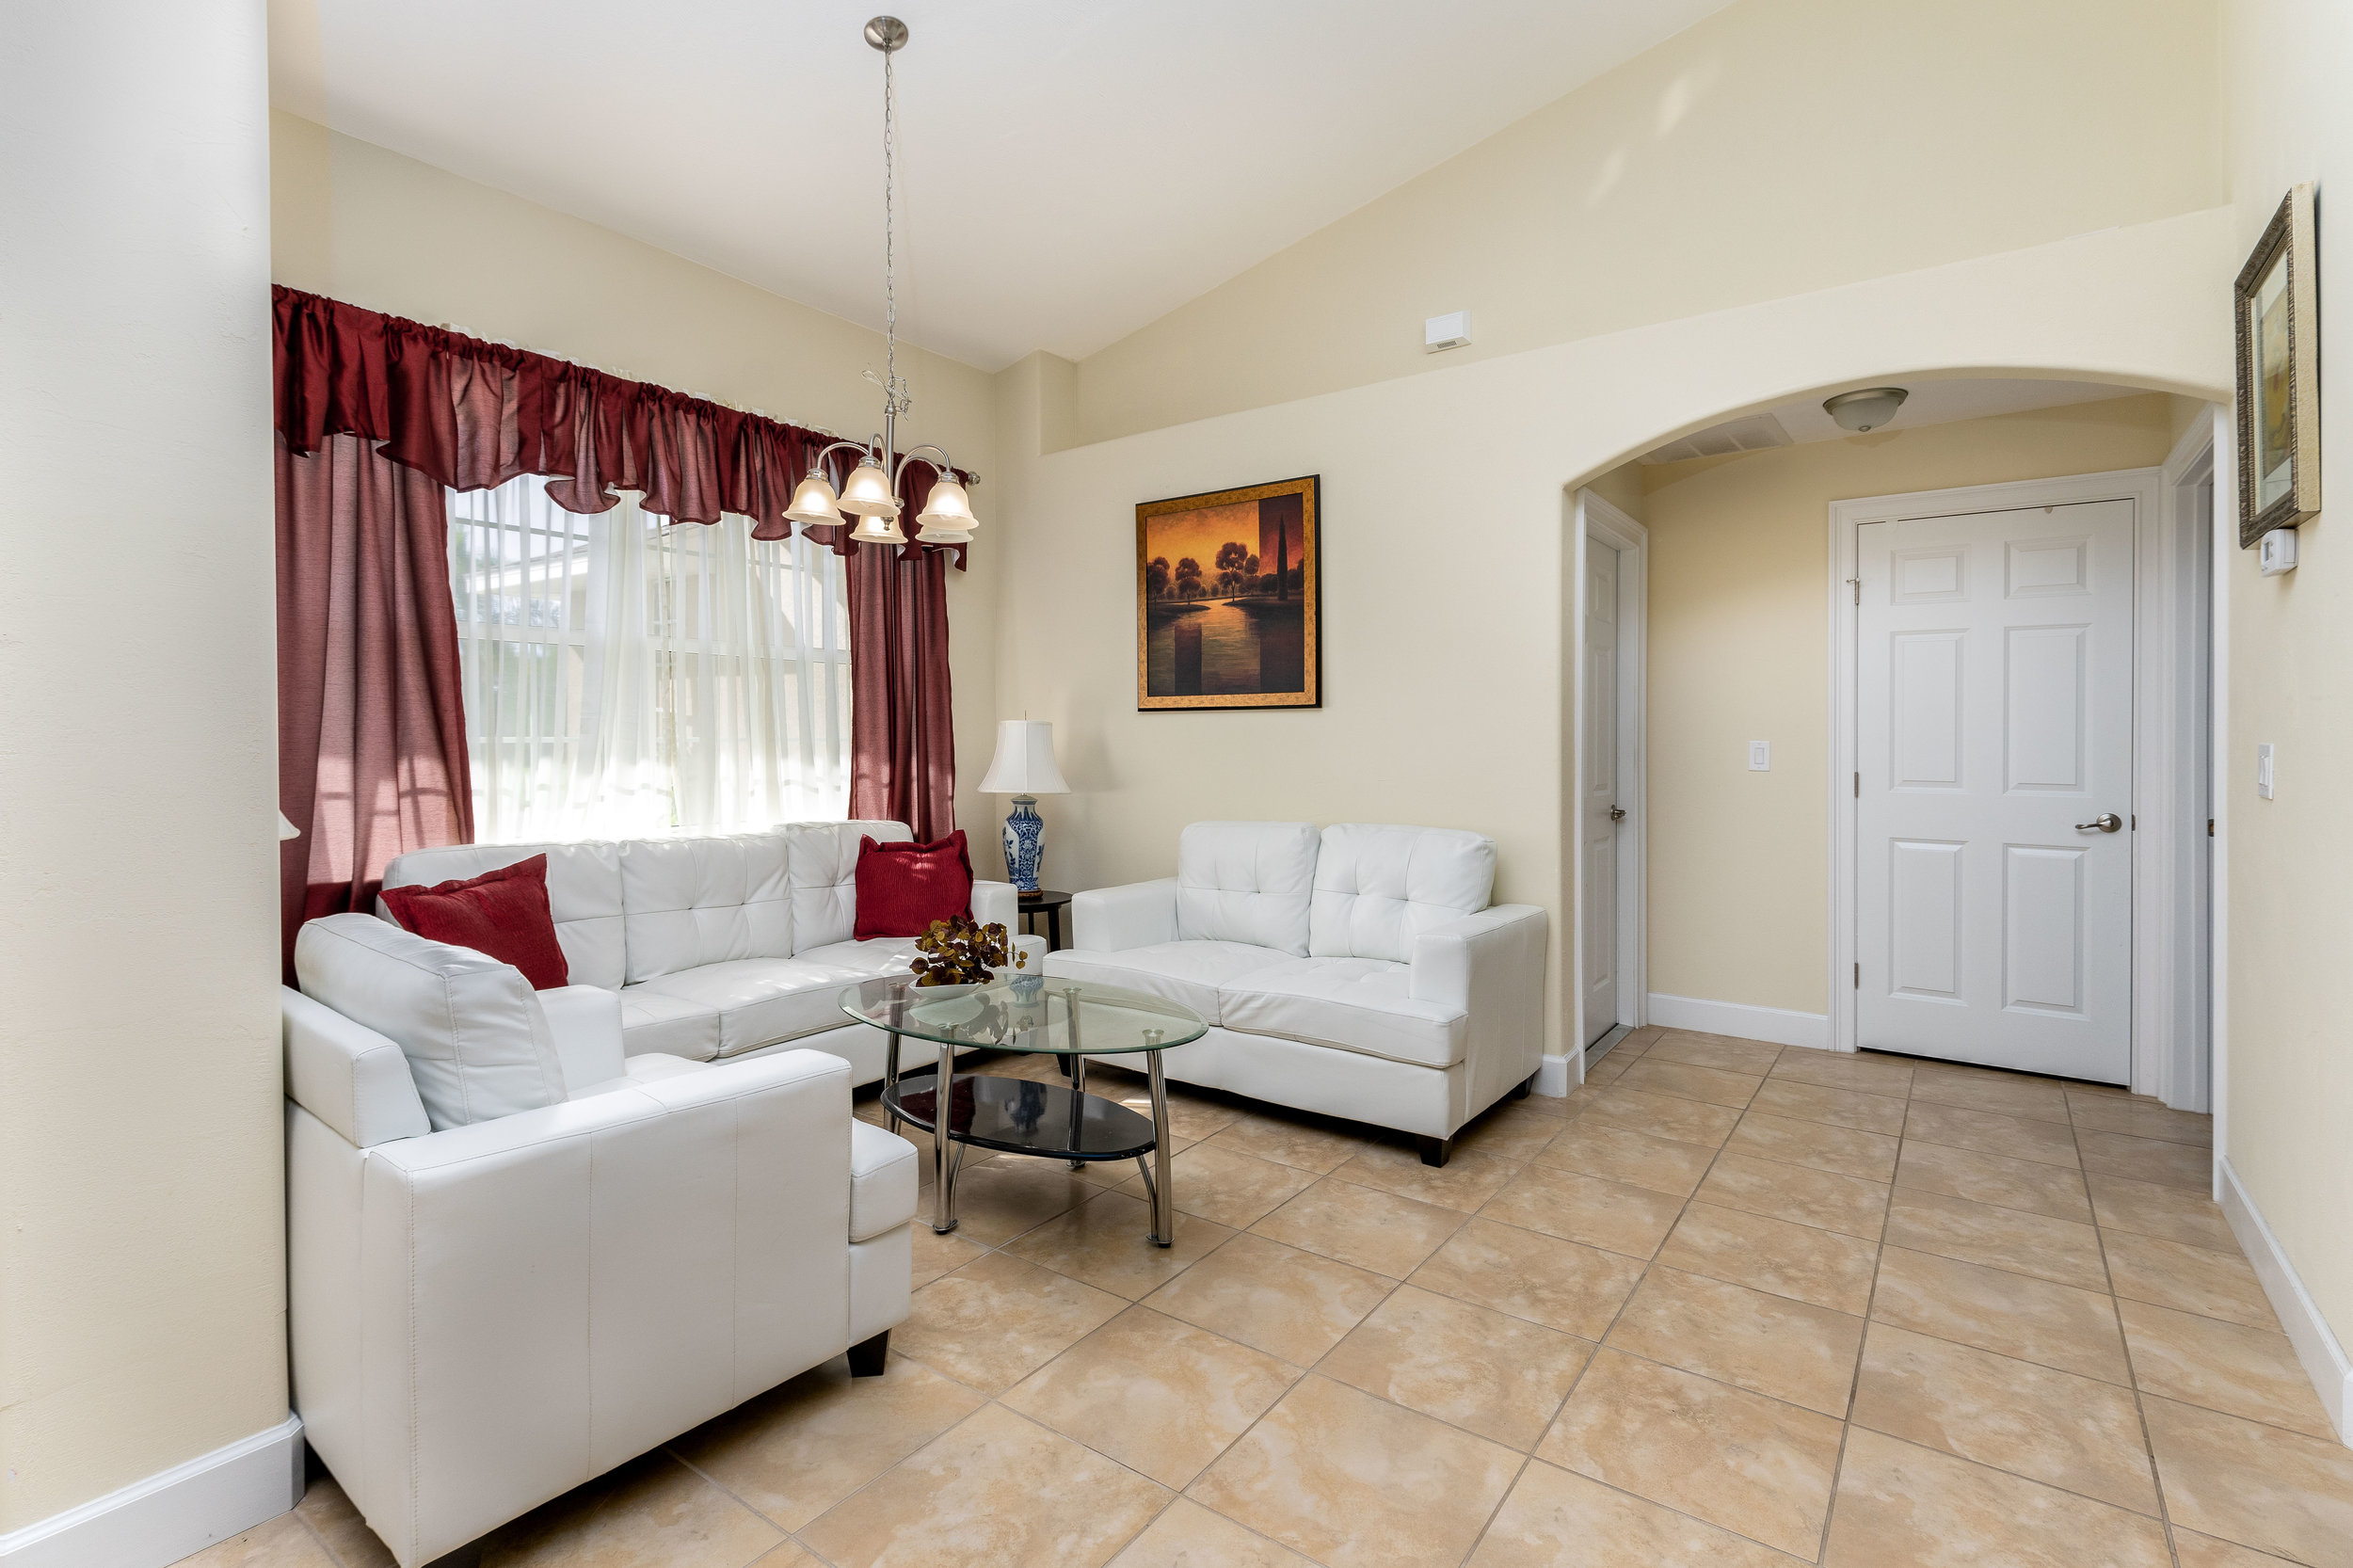
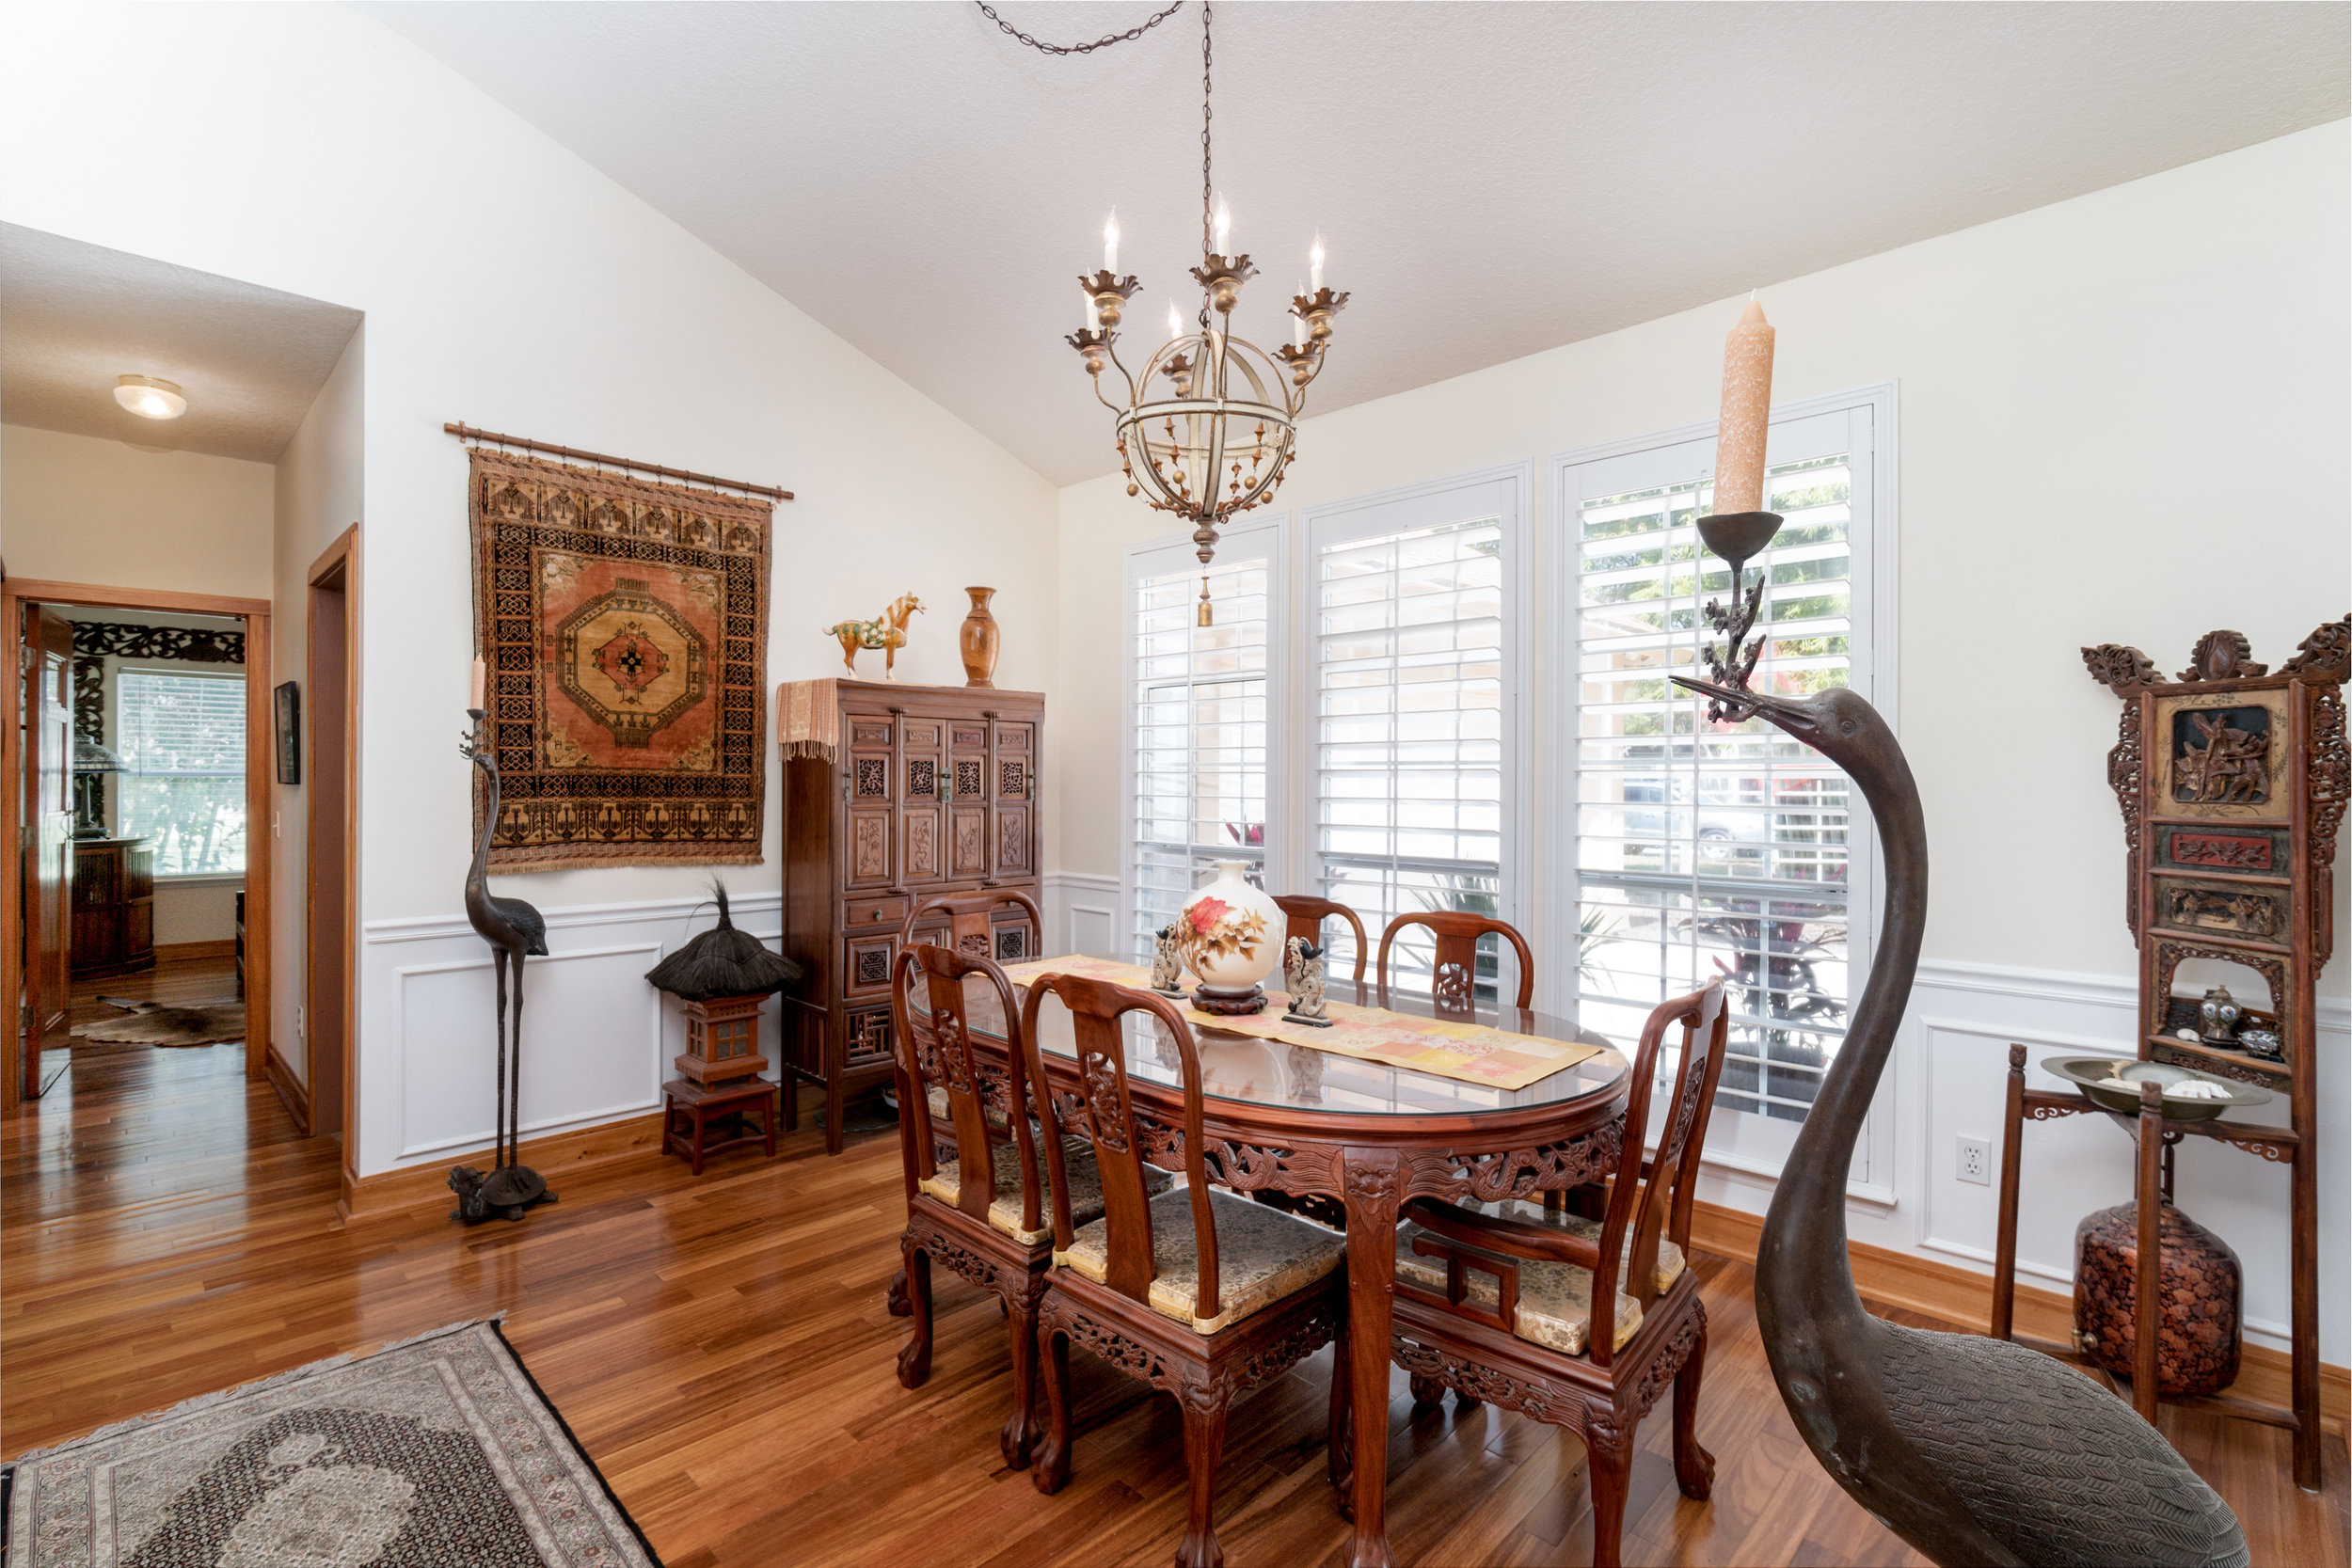
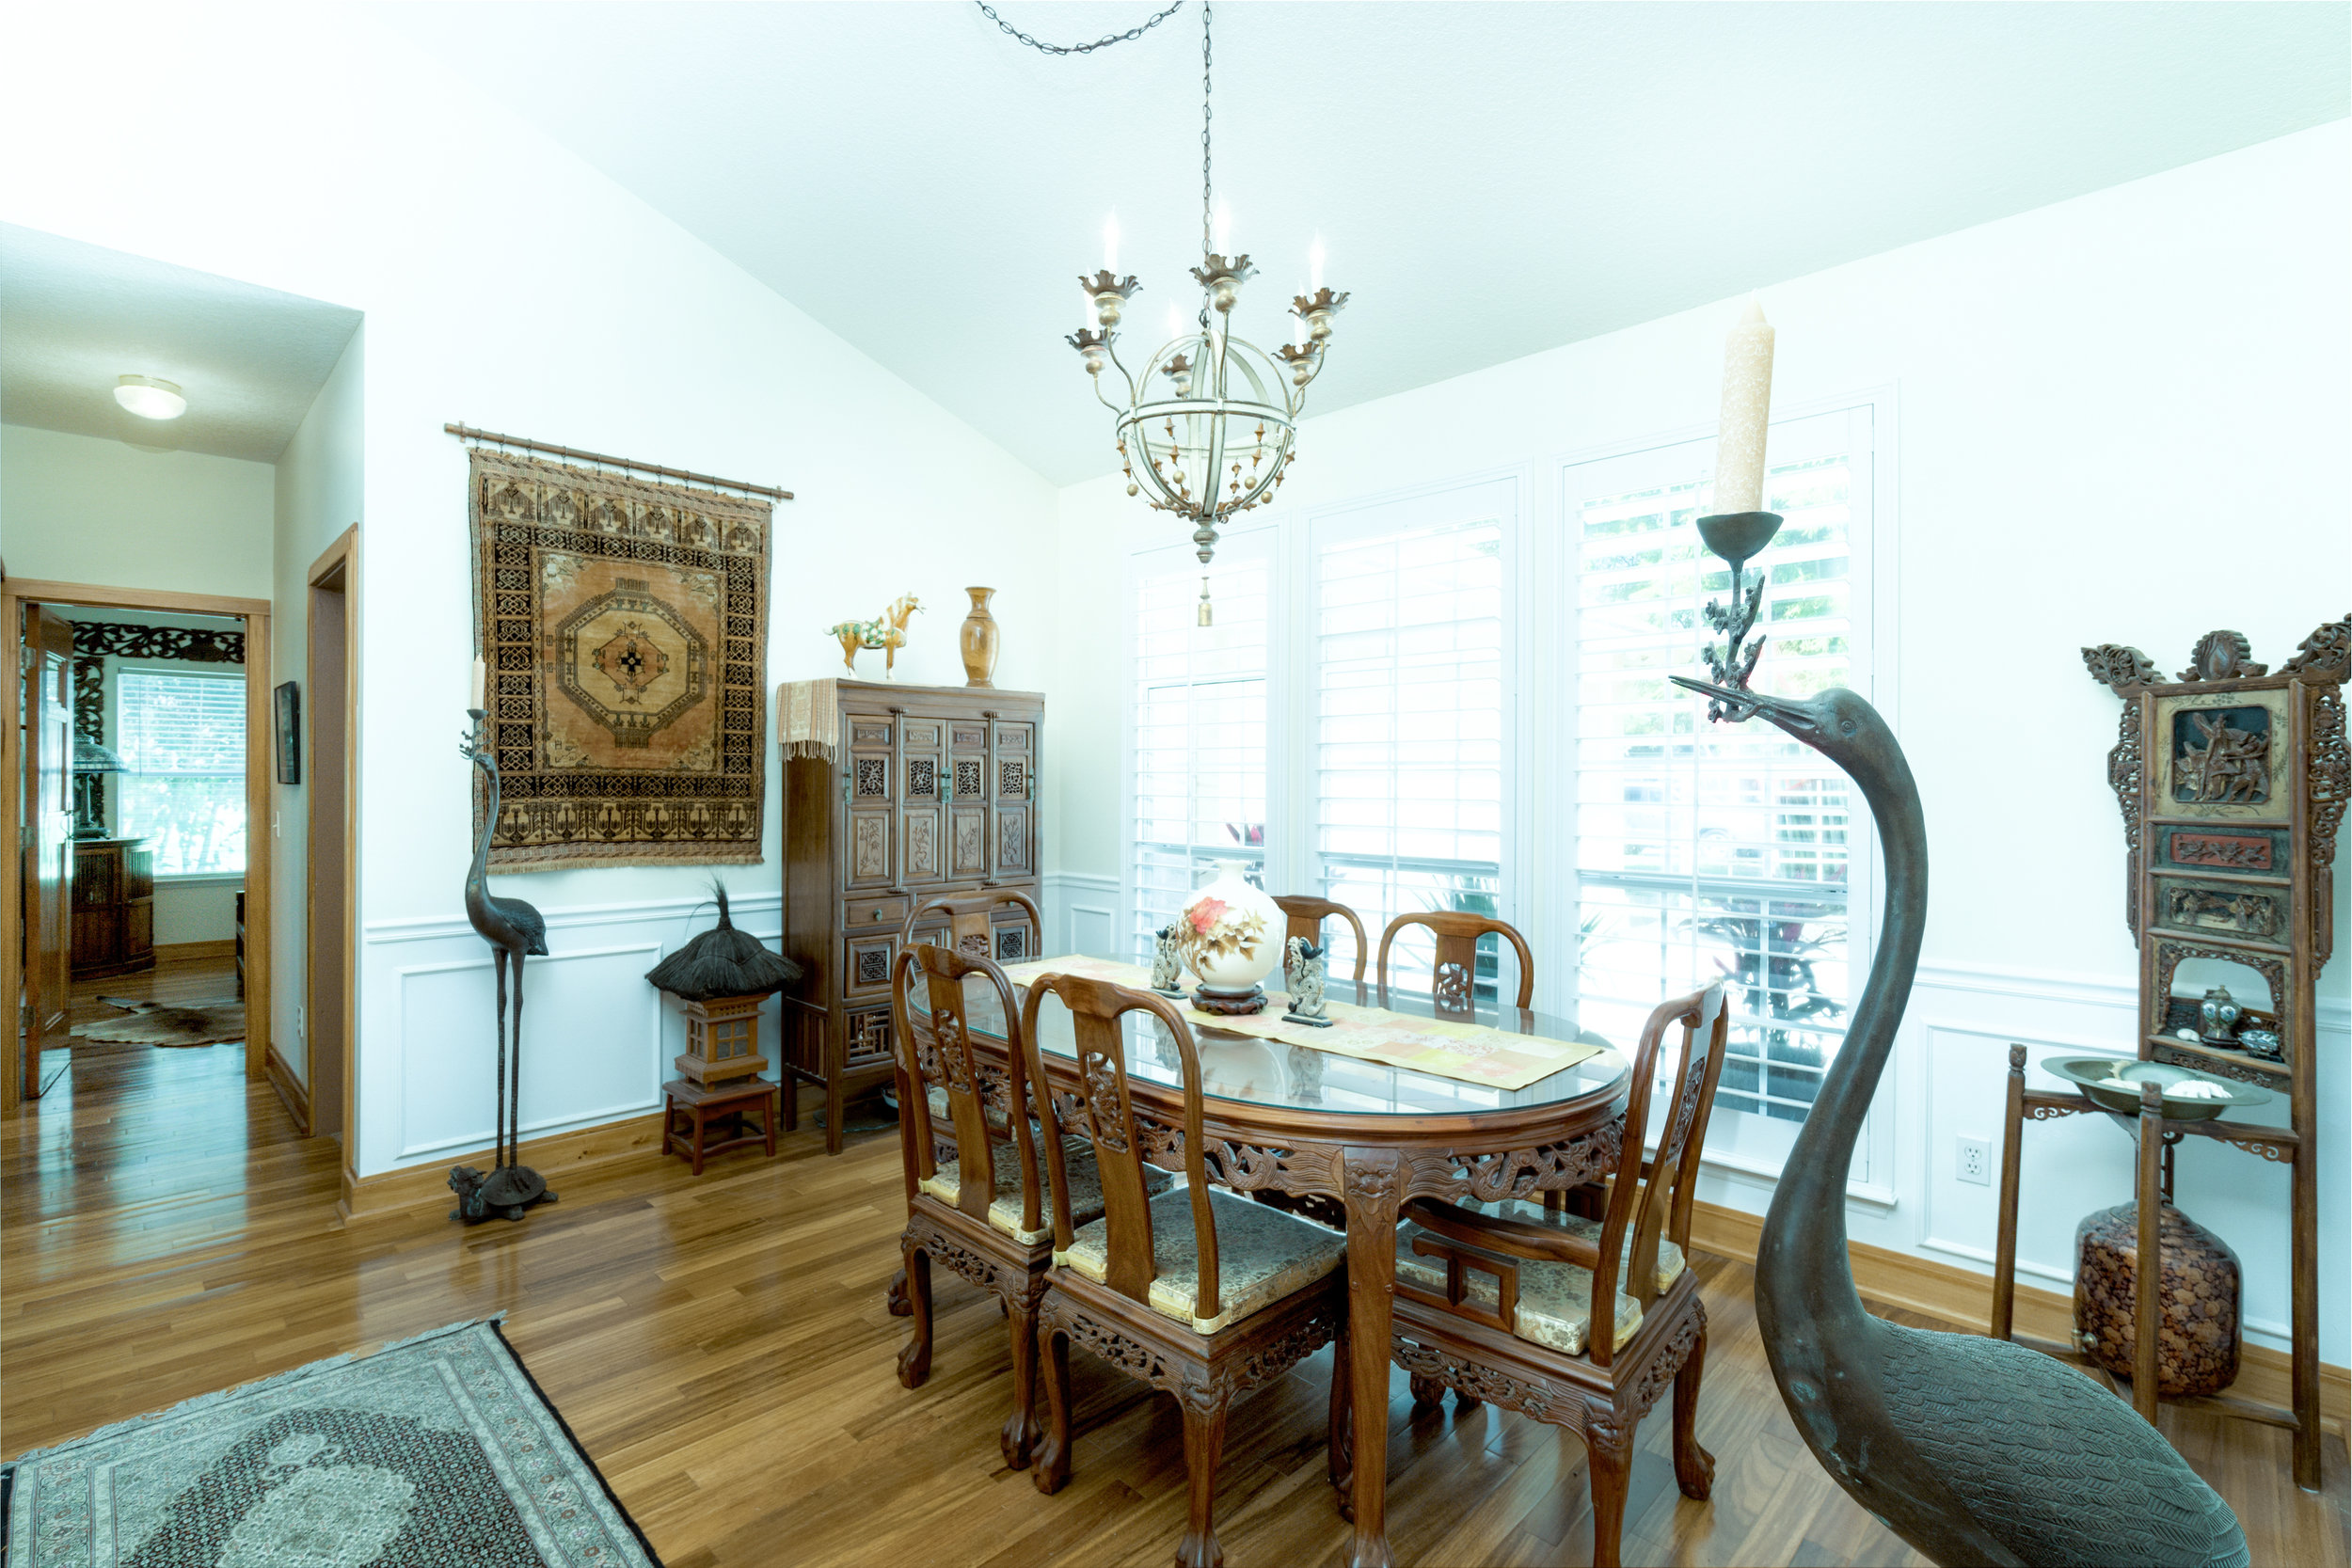
Dynamic Range (DR) is how well the lightest areas of a photo and the darkest areas of a photo are rendered. Typically, in real estate photos you'll have windows whited out due to the limits of DR in your camera -- you don't want this. To get around this a photographer has to take multiple exposures; either in a bracket (High Dynamic Range photogrpahy) or an ambient exposure, flash exposure, and window exposure (Flambient photogrpahy). If you see any windows blasted out, ask your photographer to see if they can fix it.


2. Perspective

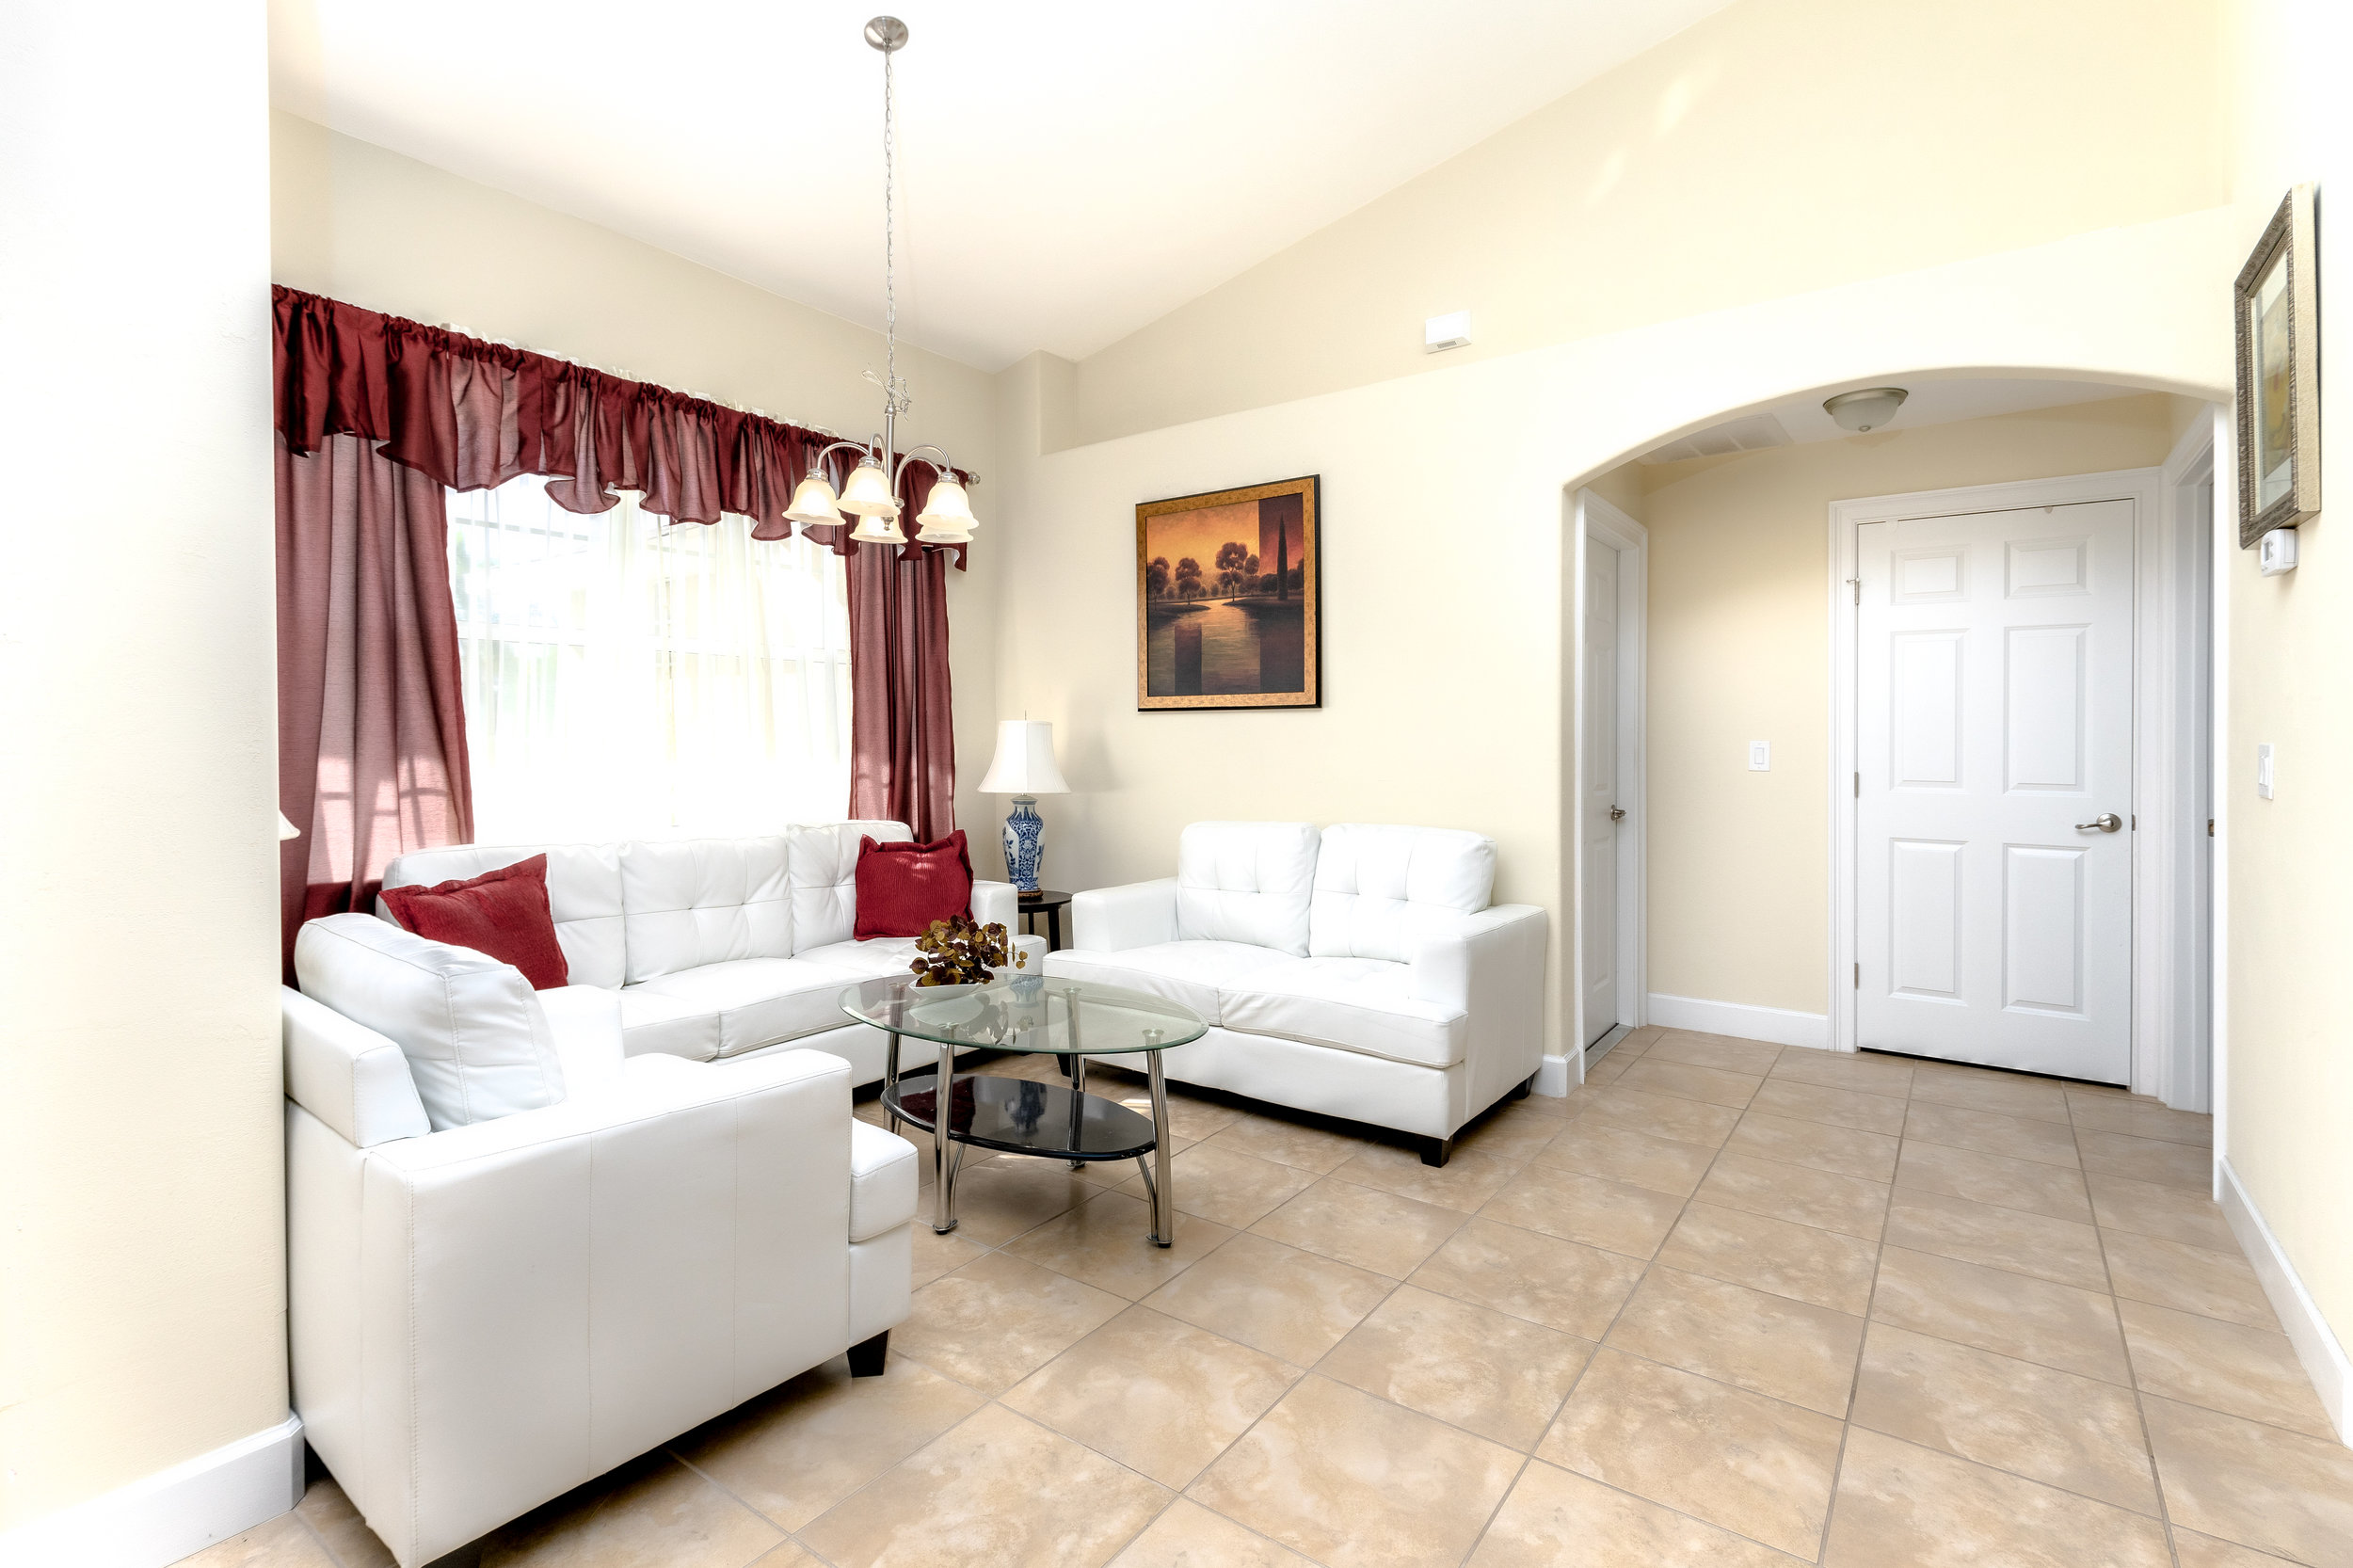
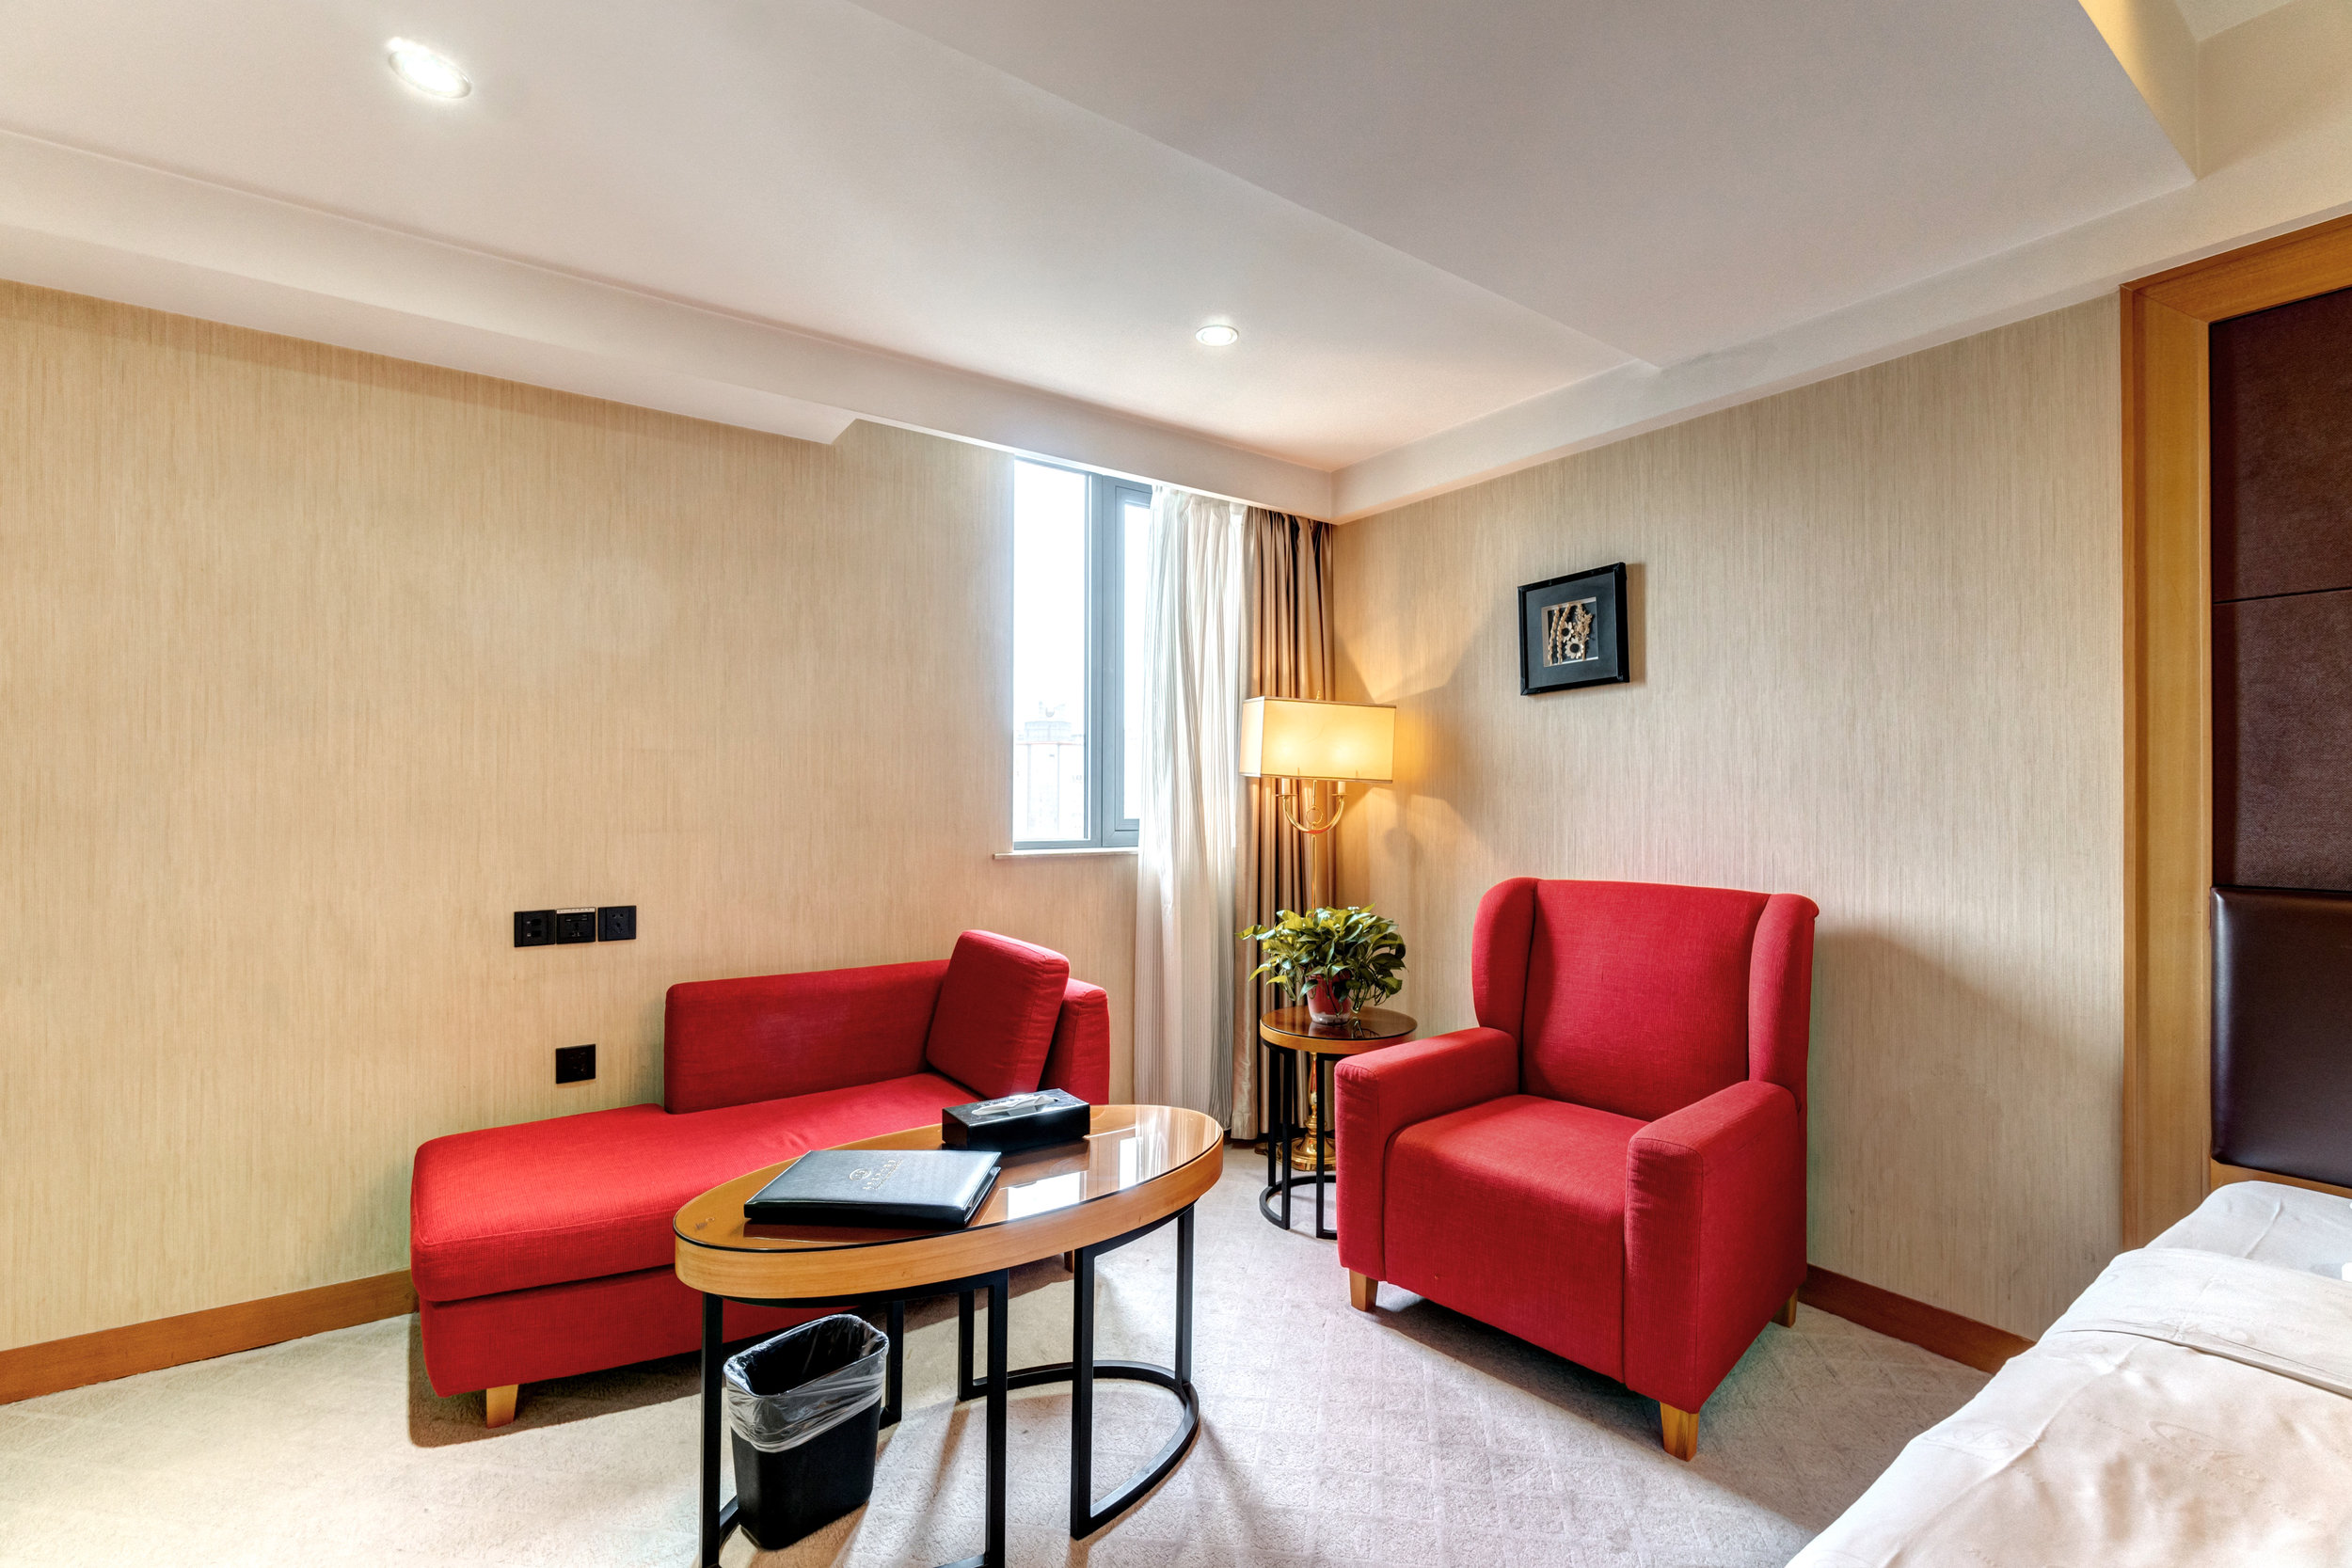
Quickly, look straight on at a corner in the room you're in. Now look up, and then down. Notice anything? Probably not. This is important in properly rendering an architectural or interior photograph. While looking up and down the vertical lines in the room never start converging. However, when shooting with a camera if a photographer tilts the camera up or down they'll start to see Keystoning or a distortion in correct perspective. This can easily be fixed in post-production, or can be corrected for in camera with the correct lens. If any photos delivered from your photographer have converging lines, ask to see if they can correct the keystoning or perspective -- it really shouln't take too long to do it right the first time.


3. Color Rendition

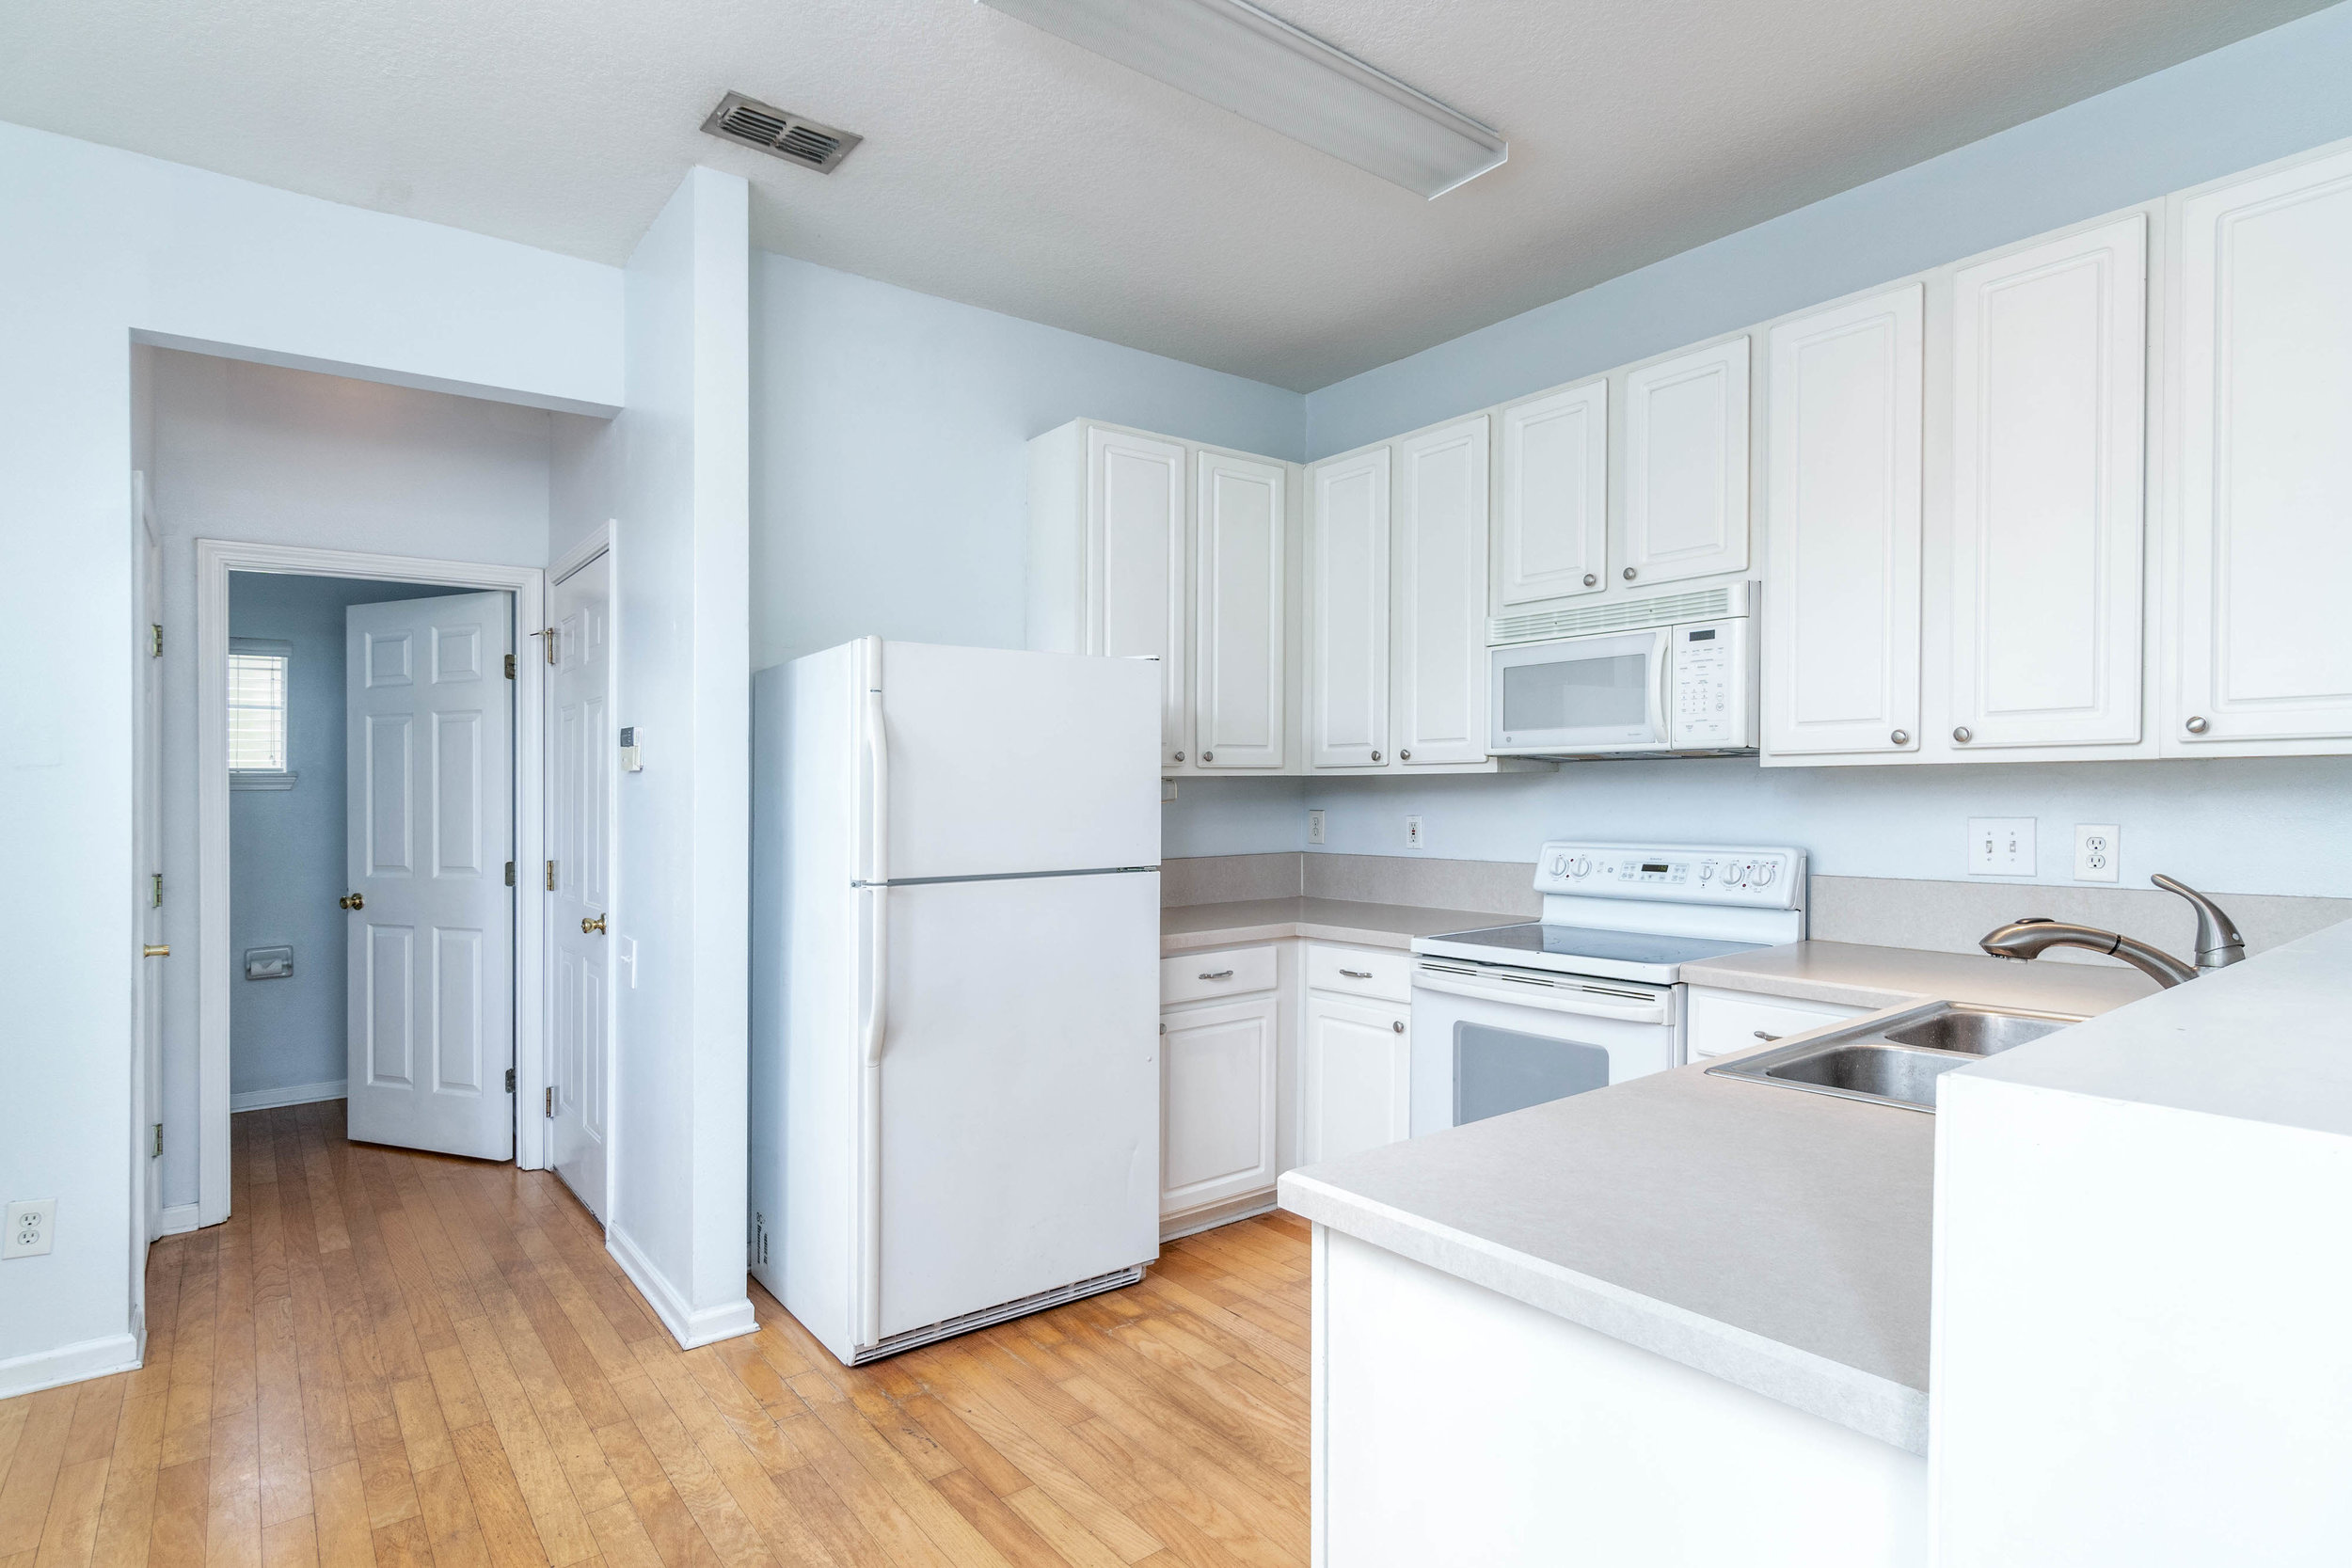
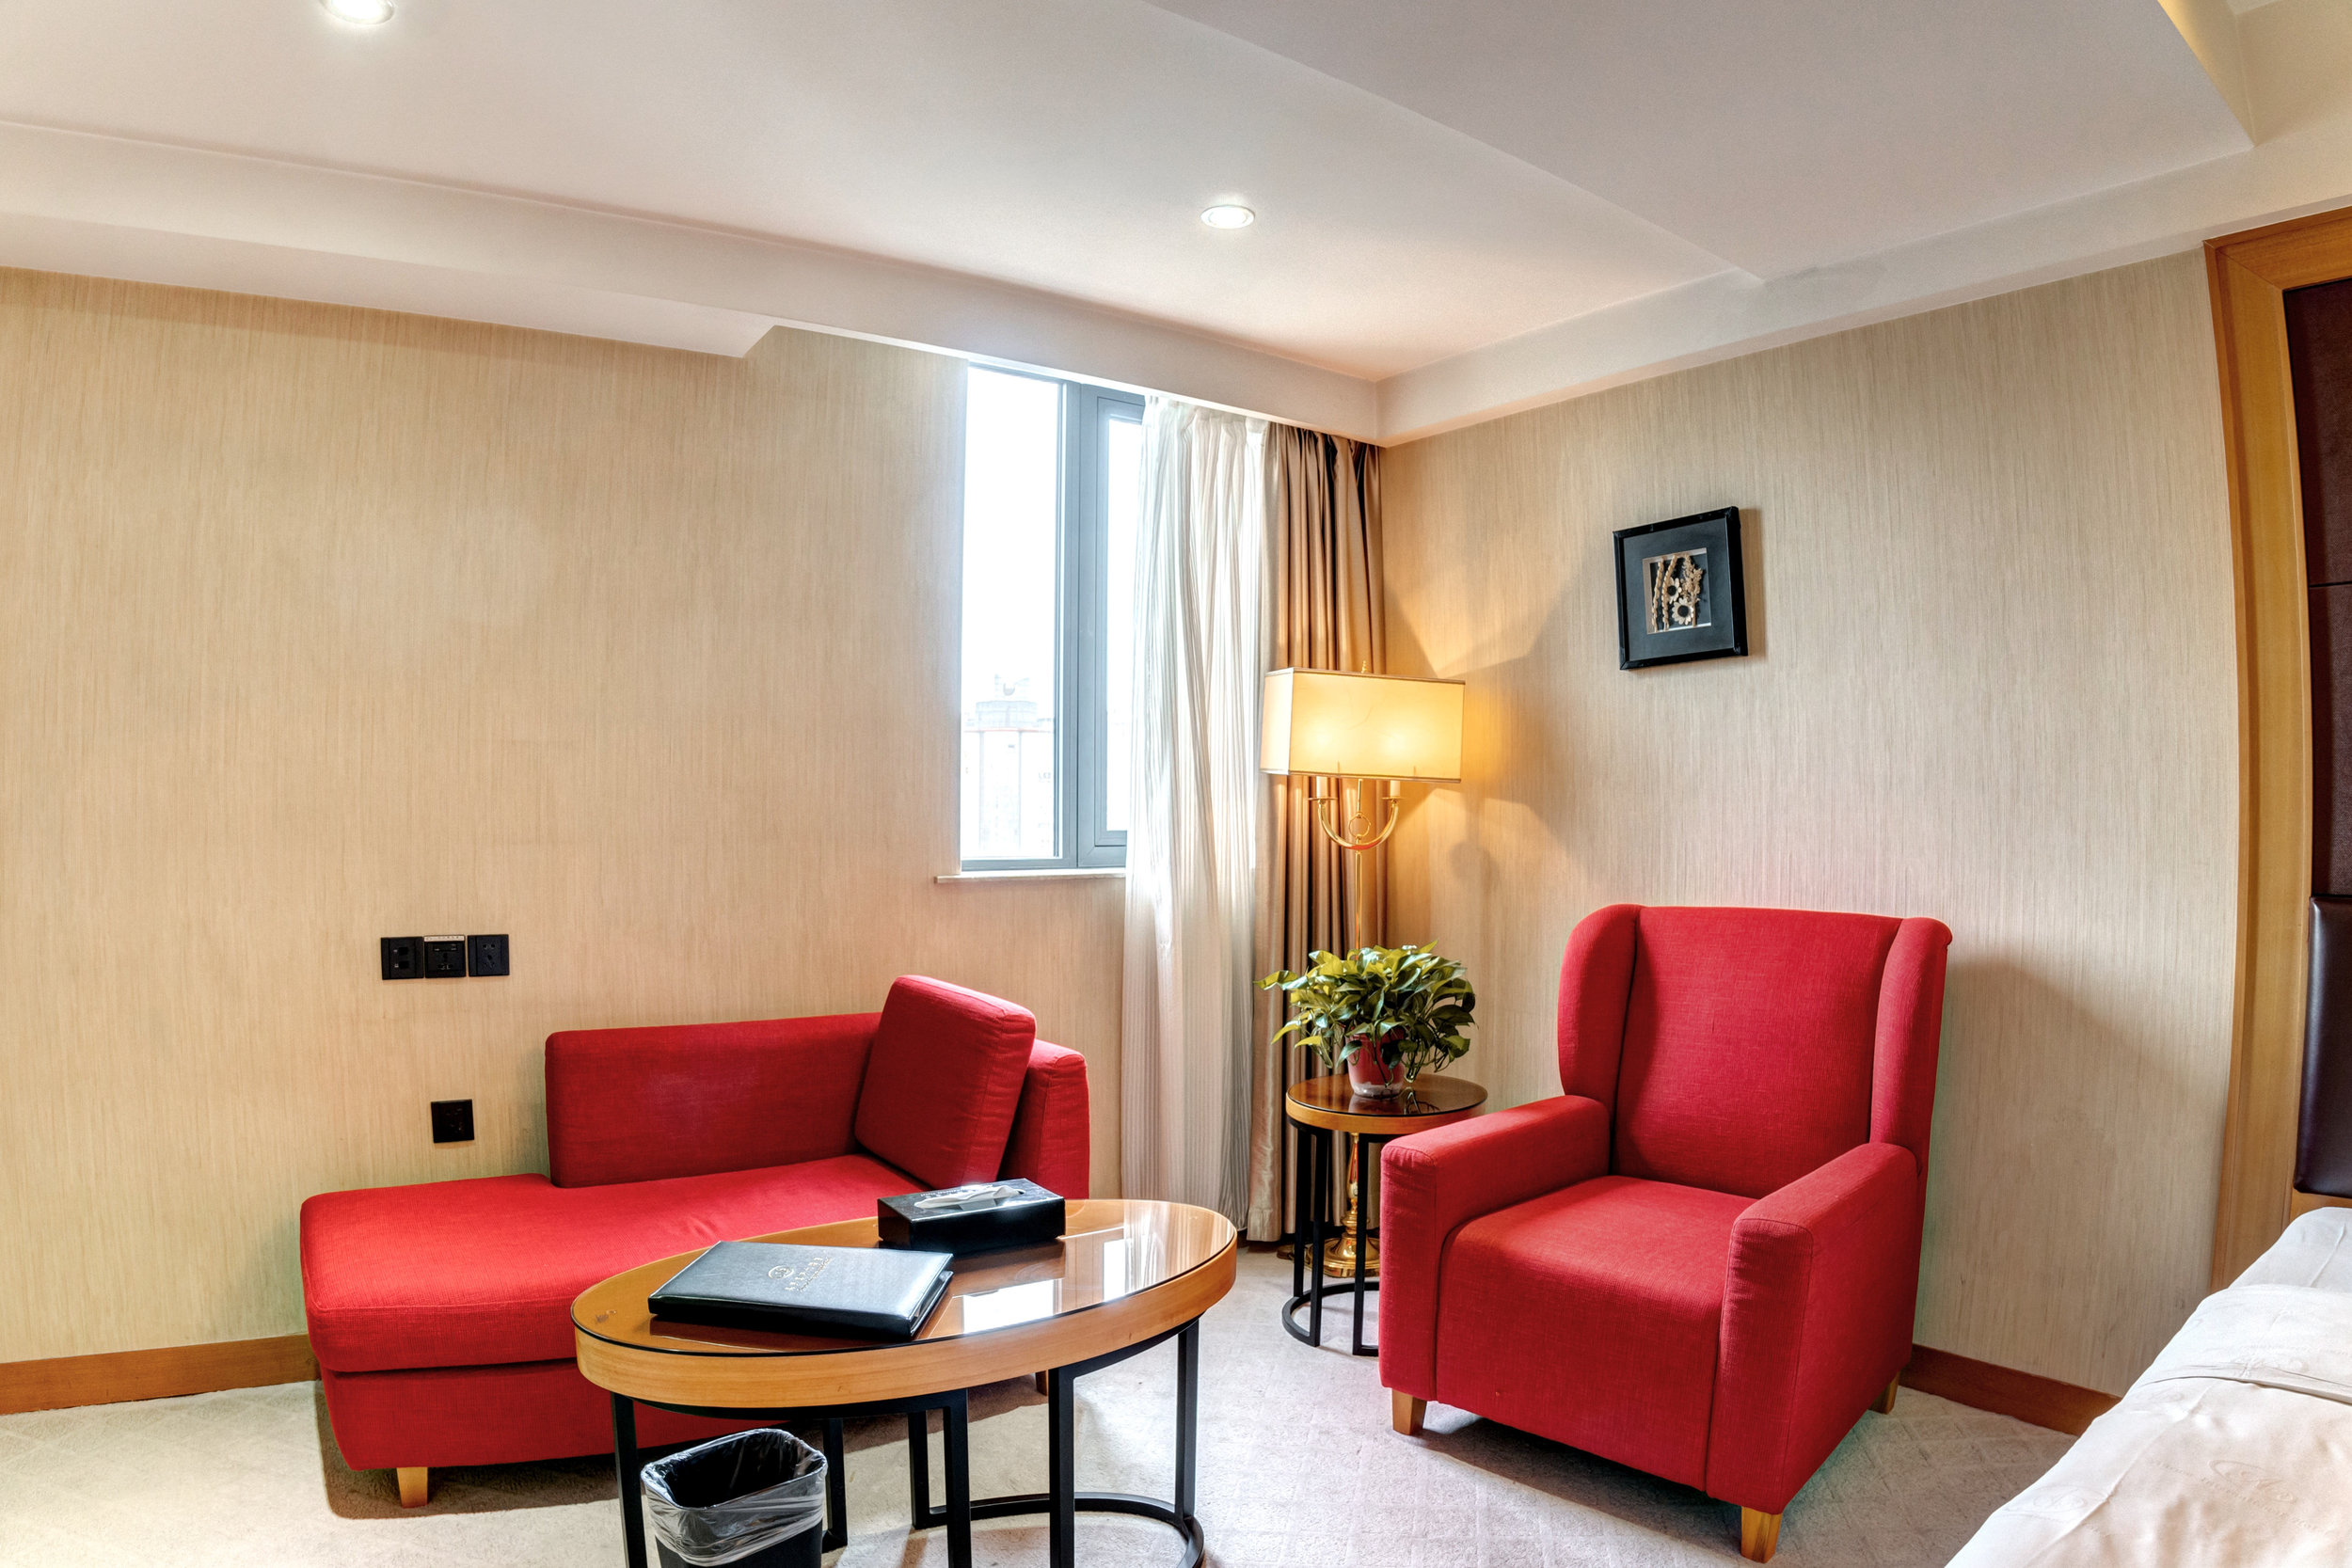
Color rendition can be tricky because, on some level, it's subjective. However, with digital photography we have tools that can help us balance our colors correctly. Some cameras lean on cooler colors while other lean on warmer colors, what you're looking for is a nice natural balance between the two. You want your whites white, and your blacks black. After that, I like to adjust the color balance to render a bit warmer to help give each photo a much more inviting, welcoming feeling (this is the subjective part). If the photos coming from your photographer are wildly out of balance in color rendition, ask them to see if they can adjust them to render the colors naturally.


4. Lens Distortion

Interior photography tends to be on the wider side of lens focal length. What this introduces is something called lens distortion; the widest of which is called fisheye distortion. All this is a bowing in the center of a photo and a stretching of the corners. This distorts reality and should easily be fixed in post-production. If your photographer is delivering photos with a mild or strong lens distortion, ask them to fix the distortion.


Understanding how these four factors effect your final photos will help you better advocate for your clients. Better photos lead to more qualified clients and leads. On average listings with professional photography sell 21 days faster than those with smartphone snaps (according to a 2016 RedFin study).

Photography 101: Camera Basics


DSLRMirroeless.jpg

Photography 101

Camera Basics

So, you’ve just taken the plunge into the world of photography with your new Dslr or mirrorless camera and you’re not sure where to start. Well, I have a few tips to get you started on your budding photography career. After reading this entry, you’ll leave with a better understanding of how your camera works so you can have fun capturing what you want.

DSLR or Mirrorless; does it matter?


Let’s breakdown the differences of a Dslr and a mirrorless camera.

DSLR: As it says in its name, it is a digital single lens reflex camera. This means there is a mirror that retracts when the shutter is pressed to allow the image sensor to collect light and capture your photo. Before the shutter is pressed, the mirror allows you to compose your photo as it reflects the scene into your viewfinder. Because of this, you’ll likely never have an electronic viewfinder (evf) or live view on a Dslr. Because of the Mirror, Dslrs tend to be bulkier than their mirrorless counterparts.

Mirrorless: Again, as it says in its name, there is no mirror reflecting the photo into a viewfinder. In this case you have the image sensor exposed at all time to incoming light. This allows manufacturers to offer live view and evf on their cameras. Live view gives you immediate feedback when you adjust any setting of the exposure triangle. Because of the lack of mirror, mirrorless cameras tend to be more compact as there is no other mechanism needed to expose the image sensor to light.

Well, does it? For me, no. But you’ll get different opinions from different people. As they say, different strokes for different folks. To me, it’s all the same technology in a different package. What gets the job done is what gets the job done. The tools don’t make the artist, the artist makes the tools.

exposureTriangle@2000x.png

Exposure Triangle

The exposure triangle refers to the three settings you are able to adjust to get a properly exposed photo. They are as follows; ISO, Shutter Speed, & Aperture.

ISO

This is a carry over from the old film camera days. It was a standard for rating a films sensitivity to light. Typically from 100 and on; with higher numbers being more sensitive to light (better for indoor photography or night photography). Lower ISO produces cleaner, noise-free photos. Higher ISO produces grainier, noisy photos.


Shutter Speed

Shutter speed is how quickly the image sensor is exposed to light. Generally, you’ll see it as a fraction like 1/60 or one sixtieth of a second. Max shutter speeds are set by each camera manufacturer for each model. Shooting at a faster shutter speed allows you to freeze motion, while a slower shutter speed allows you to capture motion blur.


Aperture

The aperture is the only setting independent of the camera. This setting is adjusting the iris of the camera lens. Each lens is built with an iris to adjust the amount of light that will be transmitted to the image sensor. Shooting wide open (lower f stop number) gives you a shallower depth of field for that creamy bokeh you usually see on portraits. While shooting stopped down (higher f stop number) gives your a deeper depth of field, allowing you to have more in focus in your photo.